
Installing WordPress on Plesk
Posted June 7, 2016 by Unlimited
Installing WordPress through the Plesk control panel is quick and easy, follow the steps below to get started.
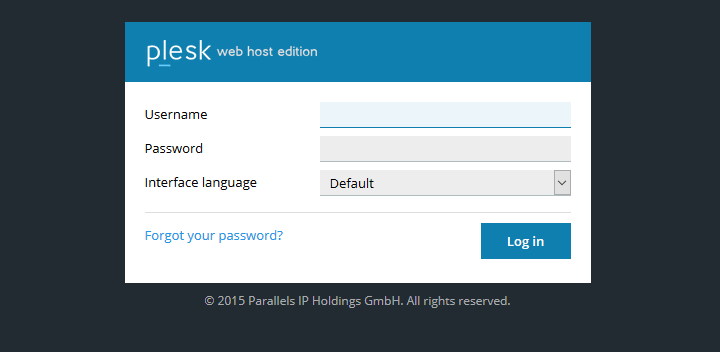
First of all, log-in to your Plesk control panel.
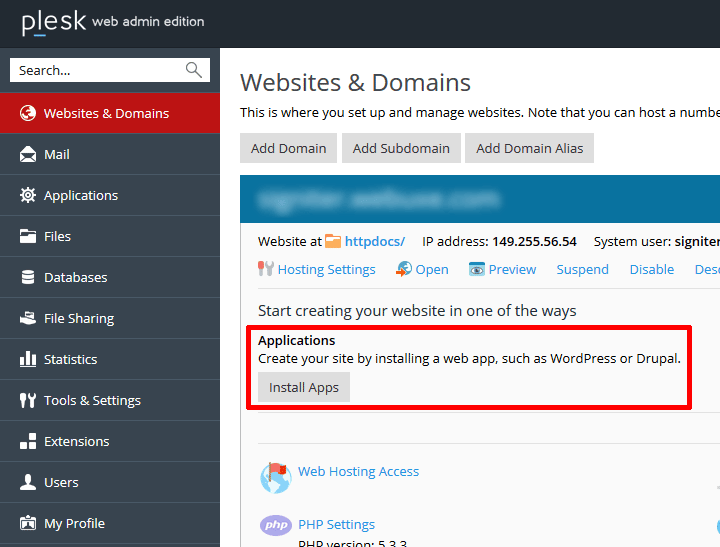
Once you are logged in, select “Install Apps”.
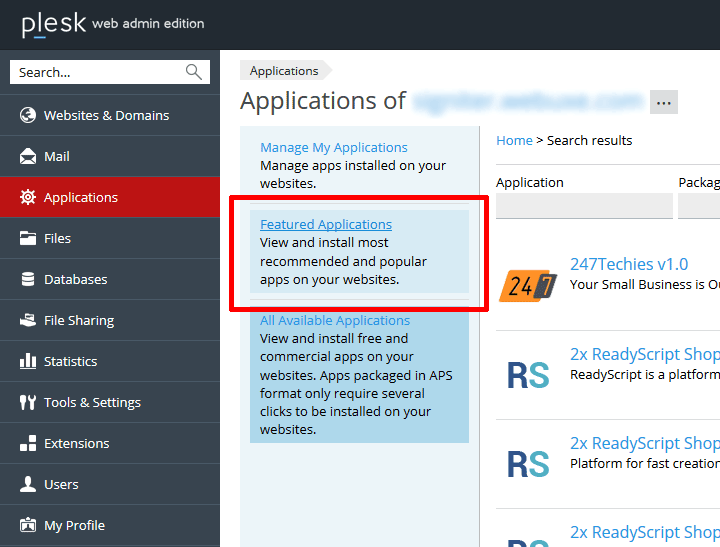
On the next screen select “Featured Applications”.
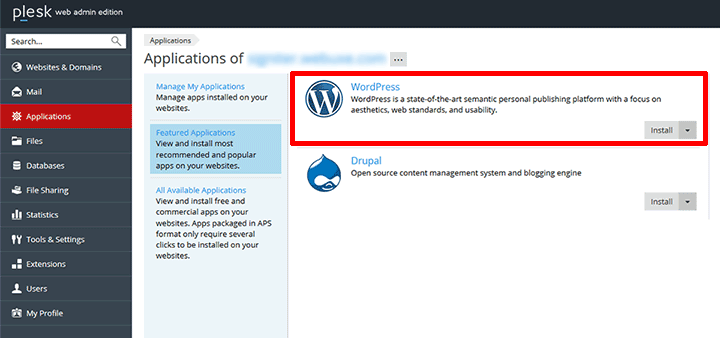
Click install to run the WordPress installer.
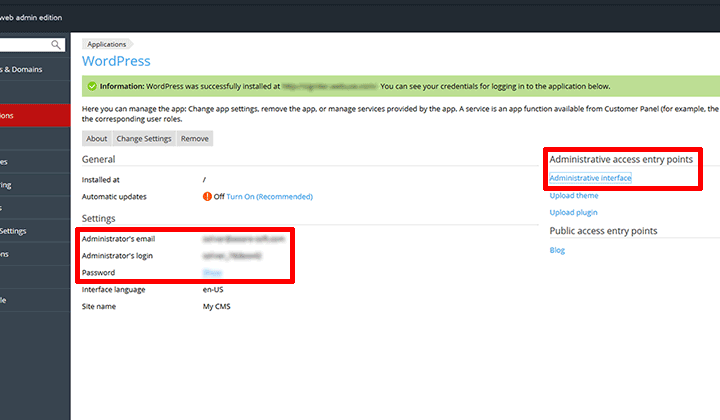
Once WordPress has finished installing you will find yourself on the following screen. On the left handside you will see the login details for the CMS (sometimes referred to as the ‘backend’ of WordPress). On the right handside, you can access the CMS by clicking ‘Administrative interface’.
You can also login to the backend of WordPress by going to ‘yoursite/wp-admin’ and logging in using the log-in details you can see on the left handside (mentioned above).
If you run into any problems with setting up your WordPress install, then please contact our support team for assistance.
Categories: WordPress


